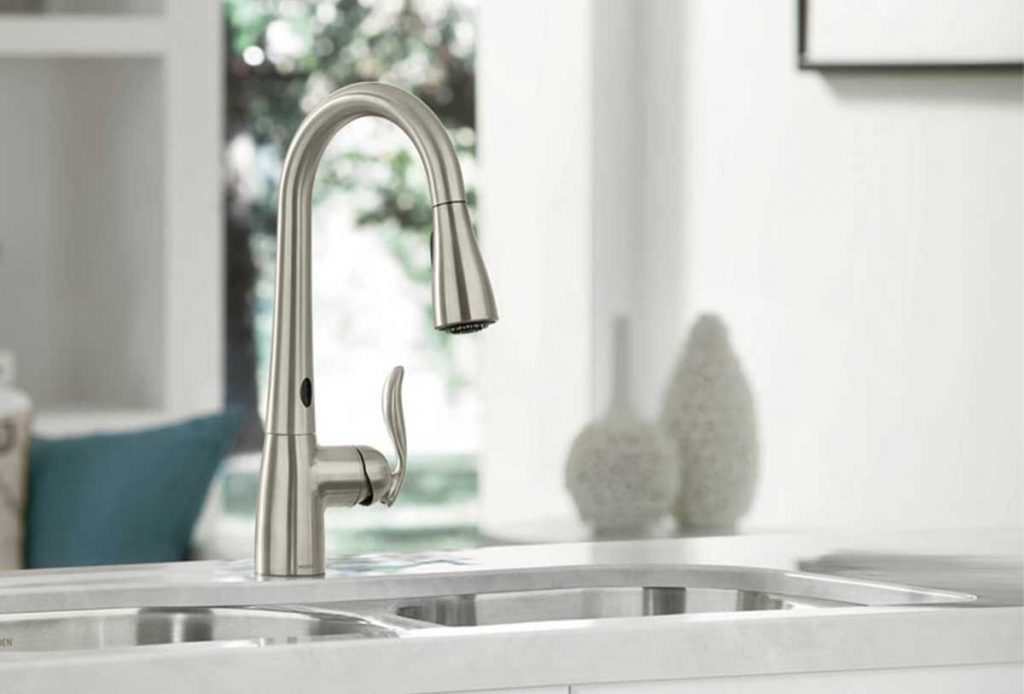
A working faucet is one essential component of any well-kept kitchen. Also, Moen is a well-known brand for kitchen faucets. The company provides a wide range of practical alternatives.
Moen’s famous kitchen faucet may become loose over time and require minor maintenance. Continue reading to learn How To Tighten A Loose Moen Single Handle Kitchen Faucet.
What Is the Cause of a Loose Faucet?
Bathroom and kitchen fixtures are constantly in use. Their faucet may become loose over time. One defective assembly or one neglected component is sometimes to blame.
However, years of scale formation buildup may cause mixer levers, fittings, and handles to tilt.
The most common cause is improperly tightened nuts. The nut is responsible for keeping the faucet heads and the base together.
It is frequently seen on the bottom of the mount. Its thread would fray over months or years. As a result, it may continue to leak.
How To Tighten A Loose Moen Single Handle Kitchen Faucet
The Tools
A Light Source
You may need to investigate your handle guts. And at the back of your guts chamber, there’s one brass ring with a slot for one turn wrench for tightening. Your flashlight will assist you in locating the ring as well as its placement.
Gloves
Work gloves are required. If you’re new to mending things and aren’t used to hard labor, your gloves will save you from scratching a knuckle. These gloves would not be required, although they may be useful.
A Ratcheting Wrench
The issue might be one nut that keeps the mechanism in, which can be tightened using one adjustable wrench. But be careful not to over-tighten it since turning your repaired handle off and on makes it more difficult.
A Kitchen Knife
To remove a handle cover, you should remove a little cap covering access to a nut attaching the handle to its gear mechanism. Even if it’s a little bit, you do not want to go down a drain, so we propose covering one drain hole.
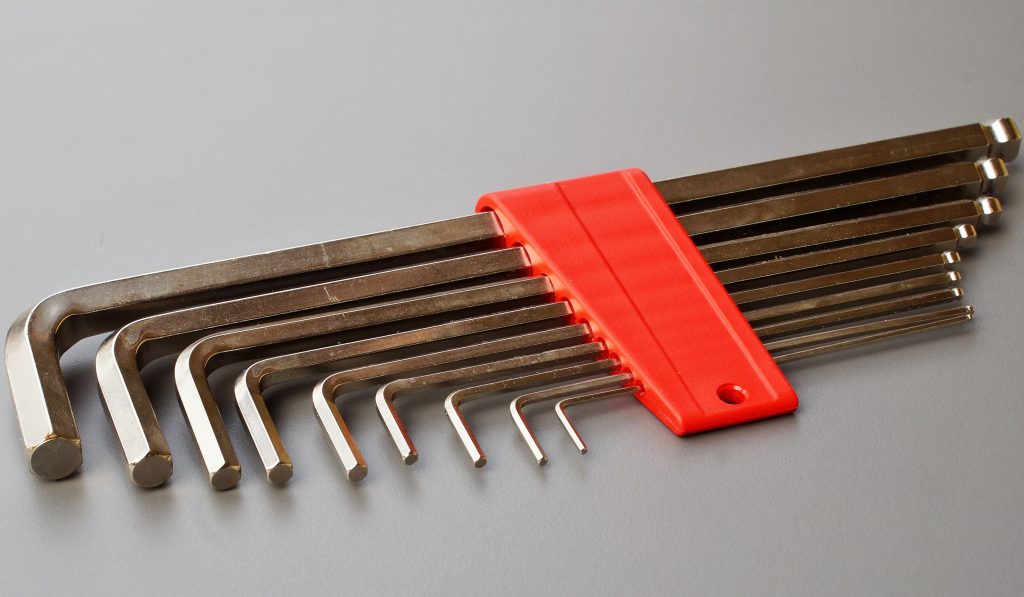
An Allen key
You will insert this tool into a hole covered by the previously described tiny cap. We’ll go over this further in a bit.
Steps By Steps
Step 1. Take Away The Cap Which Covers Your Hex Nut Access Hole
Find the little cap indicated before. It will occur at the point at which the handle collides with its gear cover. It’s tiny and, based on how near the faucet is to a wall, not always simple to reach.
When you’ve found the cap, utilize a utility knife to pry it off. Please place it in a secure location where you won’t lose it.
Step 2. Use The Allen Wrench For A Hex Nut
Remove the cap and put one Allen wrench to the aperture until it feels snug against your hex nut within a gear cover. Then, you make it a couple of counterclockwise turns or lefty loosely. We don’t need to twist it more than release the handle before removal.
Jiggle the handle to loosen it, and then take it from the cover whenever it feels “correct.” Place it away from the way. We may now remove its gear cover and unscrew it. Once more, loosey lefty.
Step 3. Tighten The Faucet
Shine your flashlight inside the gear chamber while the lid is off. The hexagonal nut may be found on the outer edge of a gear shaft, and one brass ring can be found behind it, inside the box.
If a nut on its outside edge seems loose, spin it one-quarter turn with the adjustable wrench. Check to see whether its entire shaft remains jiggly. If there’s no wobble, the problem has been resolved.
Please keep in mind that overtightening that nut may make your handle much more challenging to turn off and on if it is reinstalled. If its jiggle continues, look for its brass ring at the back of a chamber. The ring would have a tiny cut-out hole from around the periphery for inserting a tool.
Step 4. Replacing After Tightening
You’re almost finished. After tightening the handle, the only thing left is to switch your supply line valve back on. Then you need to remove the cloth that was protecting the drain.
Both cold and hot feeds must be restarted and checked. You must turn your handle, check the water flow, and then pat it on its back for one successful job.
Conclusion
You now understand How To Tighten A Loose Moen Single Handle Kitchen Faucet. When you do so, you would be capable of repairing it by yourself and saving paying a plumber. Moreover, you can extend the lifetime of your item before purchasing a new one.