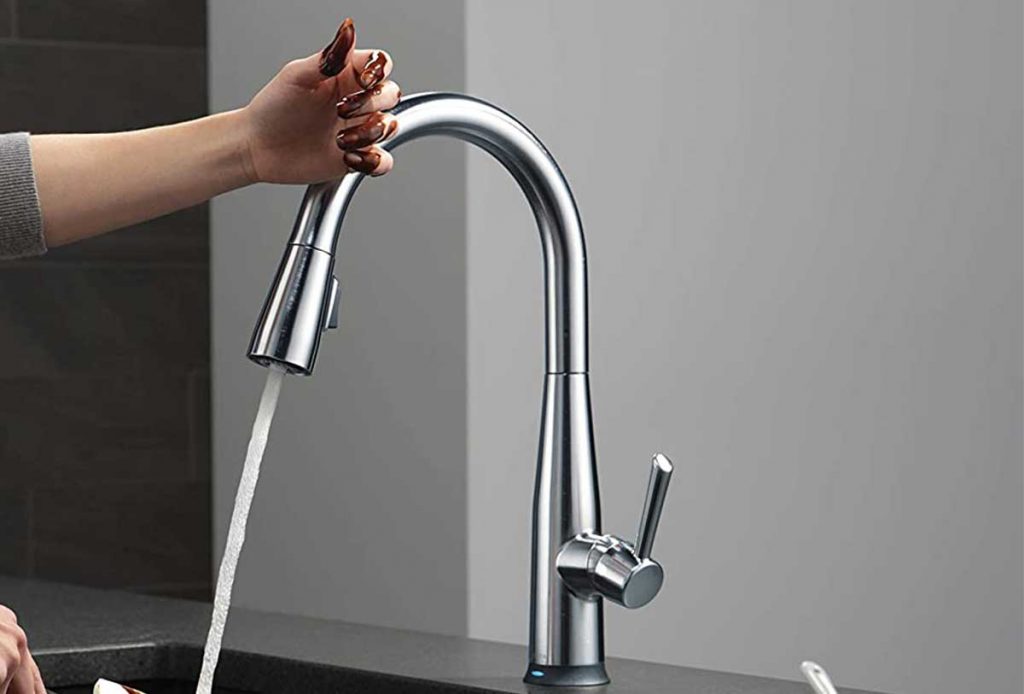
Single-handle kitchen faucets come in a variety of styles. However, regardless of whatever one you have, repairing it when it becomes loose and begins to leak seems to be a simple task.
How to tighten a single-handle kitchen faucet? It includes nine simple stages, and if we begin with all of the necessary instruments, we can accomplish it ourselves.
Now you must understand the type of the device and the various pieces that must be taken away and replaced while repairing its component. Therefore, before you begin, ensure you have completely read the tutorial. Let’s get started.
What Are the Causes of a Loose Faucet Handle?
A leaking faucet generates annoying squeaking noises. Its looseness interferes with the ability to switch it off and on efficiently.
- The screws which hold the pipes underneath one sink base together may become loose and twist.
- The handle, which pivots in the base’s center, may cause the base to wobble because of too much use, which usually results in leaks.
- A tiny disc with an O ring holds the handle in position. It is also common to utilize loosened O rings.
How To Tighten A Single Handle Kitchen Faucet
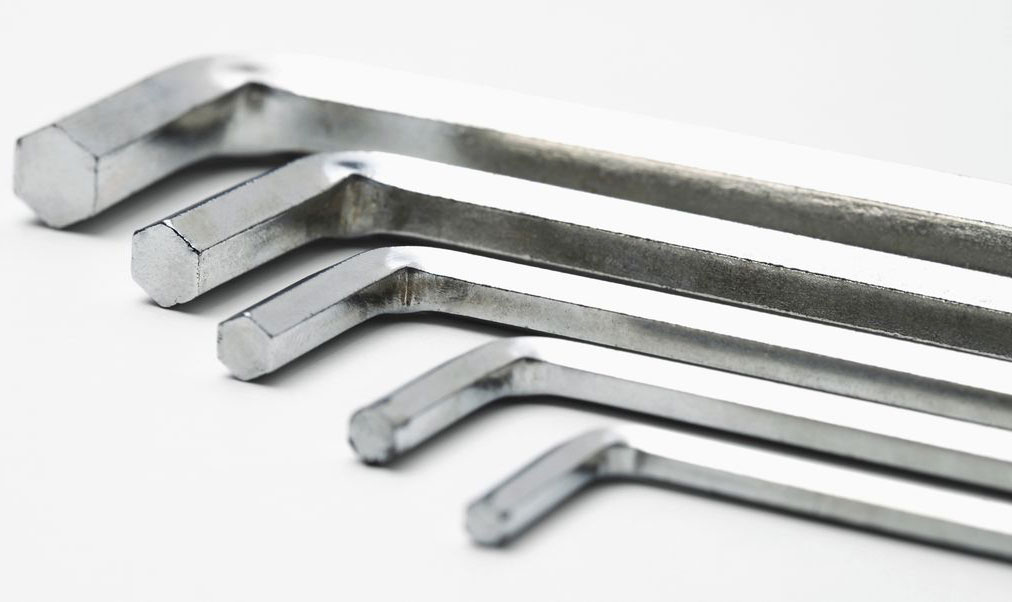
Materials Required
- Adjustable wrench
- Basin wrench
- Hex wrench
- Flashlight
- Allen wrench
- Mini Knife
- Hand gloves
Steps By Steps
Step 1: Clean out The Sink Cabinet
Before you begin tightening your device, remove anything and all objects from your sink’s cabinet to avoid harm in the event of an unexpected water leak.
Step 2: Close The Drain Hole Of The Basin
The next phase is ensuring that no little components, such as nuts or bolts, get lost when you work on the remainder. So, shut up your basin drain.
This step is particularly significant since you will require all those elements when you complete the surgery. You’ll have to stop working and go to a hardware shop if you forget any.
Step 3: Turn Off All The Valves For The Water Supply
If something bad happens while working on your valves, you would like to ensure that water doesn’t flow through you and your kitchen.
As a result, you must find and switch off all supply valves. This step can also be useful while repairing the device since water may gush out if this is not implemented right.
On most faucets, there must be two valves. One is for heated air and the other for the source of cold water. They’ll be in the rear of one faucet resembling Moen’s, so you’ll need one flashlight to access them and set them out properly.
To completely shut off the valves, spin them anticlockwise a few times. Water may not rush out when you don’t go all the way, and It will likely trickle, which may be an issue later on. As a result, it may bother you as you tighten your handle.
When these valves are fully closed, you may test your work by turning on your device. To avoid unwanted shocks, go gently. This phase is a common step that gets skipped. You are free to do so, but you could be in danger.
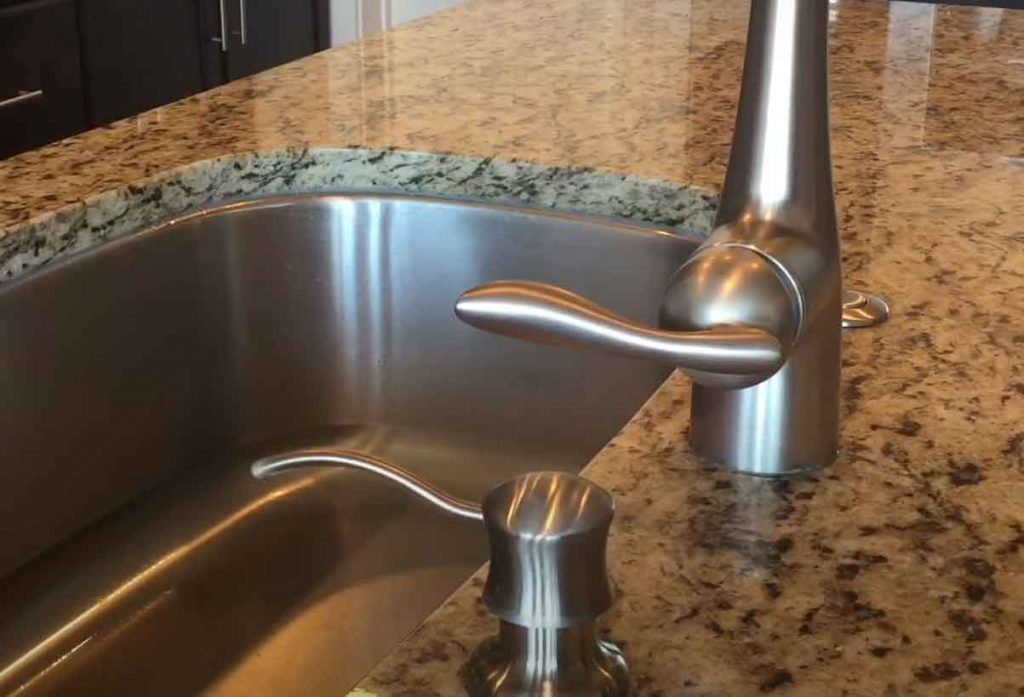
Step 4: Identify The Faucet Type
You must now determine the type you own. For certain versions, this entails removing a decorative cover from the handle. You should open its cap with one knife or even one flathead screwdriver to reveal its head screw.
Step 5: Pry Off The Water Lines
If you have a Moen faucet, you will notice a base region where its water lines must be pulled out. With this step, you’ll need one adjustable wrench.
But, when you begin, acquire one set of gloves to protect your hands. Insert your wrench between the inlet and the water supply system. To pry all lines free, turn your wrench anticlockwise.
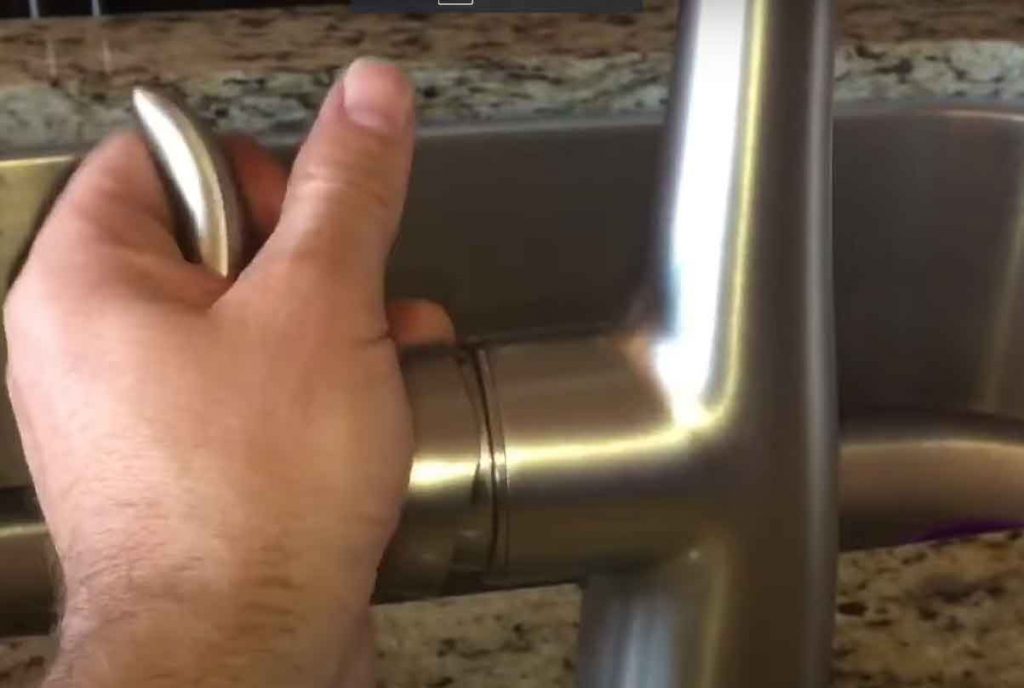
Step 6: Tighten The Screw Of The Handle
Tightening the actual main screw of your handle, once again, is dependent on its screw type. Therefore, before you start, you must ascertain that. If that screw is at the base of the faucet handle, you will require one hex head and an Allen wrench. Tighten that screw by turning it clockwise.
If your screw is hidden under the ornamental cap, you may need to use one hex wrench and one head screwdriver to remove it. Hold the device and turn the screw clockwise.
Step 7: Tighten the Base’s Nuts.
We’re almost finished. You must now identify the loose bolts that attach the kitchen faucet to its base. You would need one basin wrench for this, which is very simple to obtain.
These loosened nuts must be placed at the above base of the basin. Then, holding them by the basin wrench, tighten them separately by applying pressure. Ensure all nuts are snug enough so you wouldn’t have to perform this step again.
Step 8: Stabilize The Kitchen Faucet Handle.
Double-check that the kitchen faucet handle is secured and ready to use when you’re finished tightening the nuts. You may check this by sliding your palm over the device. If it’s shaky, you should double-check the nuts. Or else, you’re almost there.
Reconnect your water system valves and crank one faucet handle to check for a leak only at the base. If otherwise, you did an excellent job.
Step 9: Replace The Cap And Turn On Your Water Supply.
Finally, now that your device seems safe return the ornamental cap to its proper location and any other objects you removed before beginning the tightening procedure.
See also:
How To Identify A Delta Kitchen Or Shower Faucet Model
How To Fix A Bathroom Sink Stopper That Is Stuck Shut In Five Steps?
Conclusion
How to tighten a single-handle kitchen faucet? Hiring one professional to solve your plumbing issues at home might be expensive. However, not every situation is as difficult as it appears. One loose faucet is a common issue that needs periodic maintenance yet has a simple remedy.