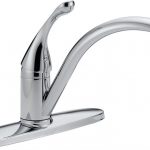
We will look at the complexities of how to remove a Delta kitchen faucet today. While different features may be incorporated into spout designs by manufacturers, knowing the quirks of each designer comes in handy when making repairs.
Delta Single Handle Shower Faucet Repair
Ball-valve faucets, which have a revolving ball-shaped valve that slides over spring-loaded gaskets in the water input holes, are a Delta specialty. Turn off the water before unscrewing the handle with a hex wrench to remove the valve.
Although you may have to exert some effort to get the wrench to turn, a few squirts of lubricating oil, such as WD-40, typically make the task go faster.
After you remove the handle, you will be able to see the collar that holds the ball in place. To remove it, turn it counterclockwise with locking pliers, and the ball should fall out into your hand.
The only thing left is to pull the gaskets and springs out of the inlet holes with a screwdriver and keep them so they don’t tumble down the drain.
Delta has begun to use cartridges in its shower faucets, and the technique for removing one is identical to that of replacing a ball valve.
Pull the valve stem with pliers after removing the handle and unscrewing the retaining nut. If it still won’t come out, lubricate the space between the valve and the housing, wait 10 minutes, and try again.
How To Remove A Delta Kitchen Faucet
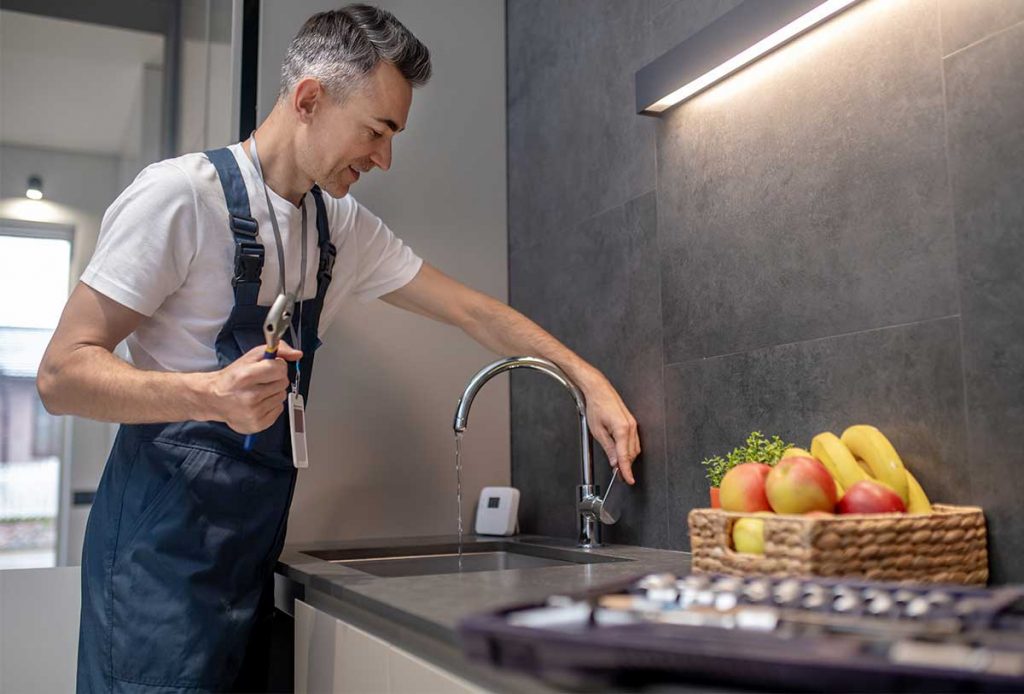
Disconnect The Water Supply
Start by shutting off the water supply to the kitchen bibcock from Delta. In modern kitchens, the system leading to the sink has two valves. Each one is in control of hot or cold water.
If you’re not sure where the mains are, turn them off. Turn on the stopcock in the kitchen and allow it to air dry entirely. This procedure clears the lines of hot water. When you separate the sink’s drainpipe, it also lowers any possible mess.
Make cleanup easier by placing a towel under the sink in the kitchen. The cloth catches small pieces that could fall while you’re working. It will also absorb any spilled liquid.
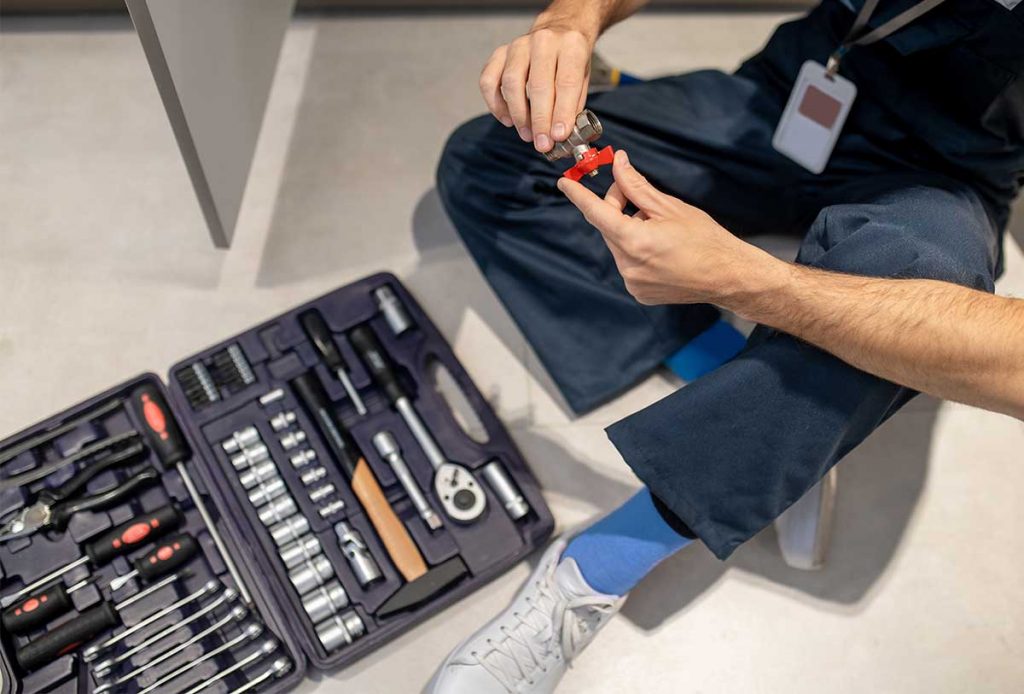
The Supply Hoses Must Be Removed
Below the kitchen sink, you’ll see two hoses that lead to your kitchen faucet. These are the water delivery lines for both hot and cold water.
You’ll need to undo the nuts that hold them in place. There will be a small amount of thread between two nuts. Using a wrench, loosen the upper one first. While unscrewing the first nut, secure the lower nut with a second wrench.
Remove The Securing Nuts or The Retaining Plate
Retaining nuts or a plate hold your Delta spigot in place. Because a plate simply takes a flat head screwdriver, it may be easy to remove.
Retaining nuts are more frequent in the Delta single handle design. Many manufacturers prefer them to plates because they are more secure. Removing them gets tough due to the restricted space.
A box wrench, also known as a bowl wrench, has a long, slender handle, making turning it in confined areas straightforward. When retaining nuts rust, they become difficult to remove.
In case you find yourself in this situation, use WD40 or something similar to spray the area. Before attempting again, let the lubricant do its job. If required, repeat the process.
When you cannot take the nuts away, maybe it’s time to call a plumber. To remove the fragments, it is necessary to cut through the metal.
Lift Out The Delta Faucet
The bibcock will come out easily once the nuts are removed. The sink’s base and tubing should be taken out from the hole. Please don’t touch the margin because they’re usually sharp. If a tube becomes trapped, move it around the sharp edge with pliers.
Removing Quick-Connect Fittings
If your faucet has a sprayer or is a widespread faucet, you’ll need to unplug the hoses connecting the spout to the handles or sprayer. These are normally equipped with quick-connect fittings that you should be able to unhook without any tools.
A white plastic tip with two tabs is attached to the fitting’s end. You should be able to squeeze them together and pull the fitting apart with your fingers.
To accomplish the squeezing in practice, you’ll probably need a set of adjustable pliers. However, if you press them hard enough, the fitting will come apart when you pull it.
You can use a solvent to dissolve the glue or pry it off with your fingers. It may be possible to weaken the adhesive’s grip by wiggling the top fixture. Please be cautious and avoid causing harm to the unit.
When Should I Call A Plumber Instead?
We recognize that not everyone is a specialist in the field of plumbing. It would be best to have a willing mindset, a wrench, and possibly some pliers at times. It’s a good idea to temper your DIY ambitions with common sense.
Sometimes, because the hydrant will not come loose, scratching up your gorgeous sink with pliers isn’t a good idea. It’s usually best to hire an expert to deal with badly corroded bolts.
Conclusion
The faucets are one of the most important components of your kitchen. It would help if you had them perform efficiently to maintain your daily routine intact.
After all, spouts are an investment that must work effectively over time. If you are unsure about your ability to fix something, you can hire a qualified plumber.
Should the problem seem easy, go over our guide on how to remove a delta kitchen faucet for DIY.