A kitchen faucet will suffer from damages after the time of usage. People tend to call a professional mechanic for support. Yet, have you wondered if you could do it by yourself?
Also, each brand has a specific process to disassemble a faucet. Moen stands out among the popular taps brands with its high quality and affordable prices. So, how to remove a Moen kitchen faucet?
This blog walks you through the step-by-step instructions. So, keep on reading to access inspirational guides!
What You’ll Need

Like a warrior going to the front, he brings his weapons along. The same as removing a Moen’s tap. You could not do it with bare hands. So, we address the necessary tools to ease you into the process below.
- A screwdriver is useful for dismantling a kitchen faucet to turn its screws.
- Needle-nose pliers aid in bending or cutting the connection between the tap and the sink.
- The wrench alleviates the rotation of the fixed faucet to remove it from the initial placement.
Steps To Remove A Moen Kitchen Faucet
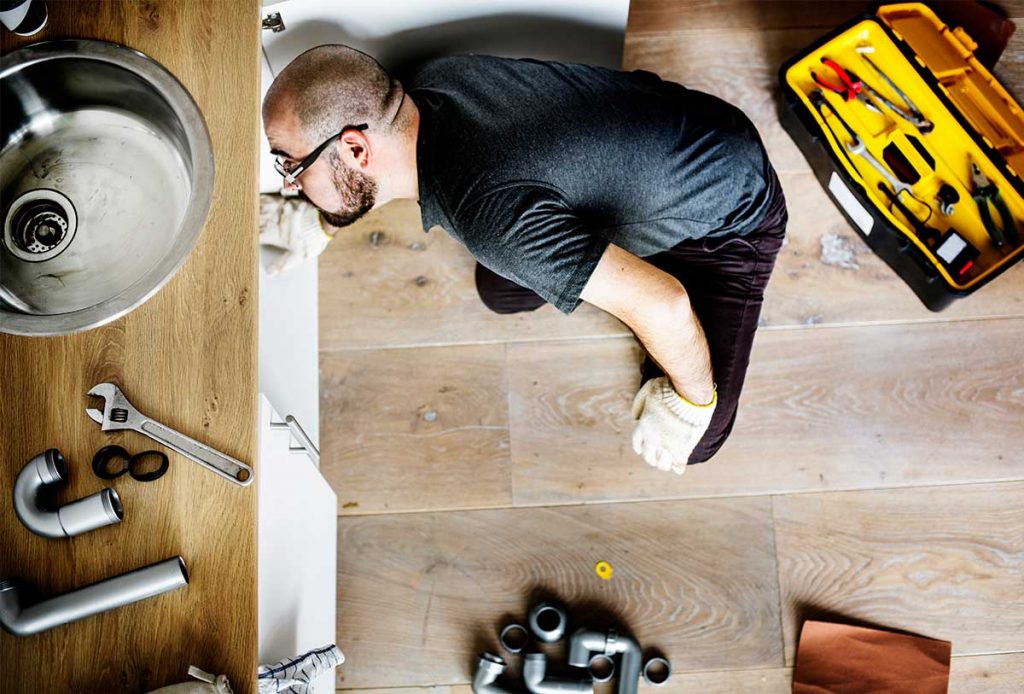
Once you finish the preparation of tools, it is time to deep dive into the step-by-step removal process. You will see how easy it is to take out the kitchen tap without a mechanic or plumber!
The note is that the procedure works the best for Moen taps. Nonetheless, you can take it as a reference if your home faucets are not the same brand.
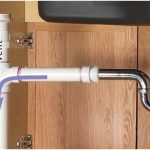
Step 1: Make Sure The Waterline Is Off
The first task is to deactivate the waterline supply. It is common to have two separate valves for different temperatures of water. So, checking the off state of both valves prevents soaking or scalding yourself.
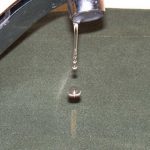
Step 2: Drain The Pipes
For smooth and safe implementation, the pipe of the Moen tap should be empty and dry. You can check the status by opening the sink valve.
If bypassing drains the pipe, it could be a mini ‘flood’ on the floor or cabinet. So, it will take time and effort to clean up!
Meanwhile, you can avoid such an unfortunate issue with a simple check. So, don’t overlook this step!
Step 3: Remove The Handle
The tools that we shared earlier step in and show their power. A wrench supports you to loosen the set screw of the handle. Then, be careful when taking off the handle.
Step 4: Get Rid Of A Dome And A Jacket
It is easier to spot massive leaks or broken rubber stoppers. All you need to do is to pull them out with the aid of a wrench.
Step 5: Disassemble The Control Of Waterline Flow
It is among the most important steps as you will take out the handle mechanism where the flow of the waterline gets direction.
It signifies that this part plays a crucial role in operating a faucet. And if you do not want to buy a new one after the process, remove it with care!
The connection between a device and a sink is through the screw. That is why you need a screwdriver to dismantle it easily!
Step 6: Take The Ring Out
There is a ring under the mechanism. Removing it does not take hard work. Yet, it is essential to keep it in an easy-to-remember place.
You will need it to re-install the old faucet in a new location or install the new one. A perfect application occurs as long as there is a great care of small details!
Step 7: Finish The Process
If you reach this step by following the instruction above, you can take off the spout with bare hands. But a screwdriver joins once again to help you unscrew a clip under the spout.
In the case of an old kitchen tap, the cartridge is another that you have to take off. The pliers hold the stem to alleviate loosening the faucet. If things do not work in your favor, a puller is our recommendation!
This step is a nice finishing touch to the removal process. You can evaluate the performance and clean up the mess (if any).
Related: How To Tighten A Loose Moen Single Handle Kitchen Faucet
Tips For Repairing A Faucet
Surprisingly, repairing a kitchen tap is the same as disassembling it. Or it is understandable to state that the removal process is the beginning of repairing one!
Dismantling the tap enables you to look at all the parts and spot the problems closely. Then, it is time to fix the issues.
Next, you put all the parts back into their places. The re-installation follows the backward removal process. It means the thing you take out the last will be the first to go in!
So, it is good to keep track of the removal order. Unless you are a pro, writing down on the notes or phone notepads is a good idea!
Conclusion
Moen is a brand with wide currency for home appliances, especially kitchen taps. Thus, many households are using its faucets.
No matter how excellent the quality is, it will wear out throughout usage. Rather than contacting a professional plumber, you can learn how to remove a Moen kitchen faucet yourself.