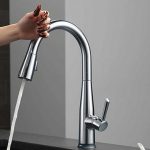
A kitchen faucet may need to be repaired because it drips, the aerator is clogged, or the handle gets loose. One of the most common issues you have to deal with is slow speed. In that case, you will need to know how to remove the flow restrictor from a delta kitchen faucet.
This blog is all you need to know about this kitchen appliance, also provides a detailed process to take off this device!
Why Do Your Delta Kitchen Faucet Running Slow?
Objective cause: water pressure is produced by the pump inside your well, and it is applied to the pipelines connecting your home to your well and your kitchen appliances.
If your kitchen faucet is not producing enough pressure for a strong flow, it may be because your entire system is low. To solve this problem, contact your local plumber to check.
Subjective causes: check the filter, the nozzles, and flow restrictor: one of these might have been clogged and impacted the pressure. In most cases, it is because of the restrictor.
Tools You Need To Prepare
It is always advisable to be prepared for this situation by keeping a toolbox at home so you can handle general repairs yourself without having to rely on a plumber.
Get ready with all the tools and materials necessary to do this job right away:
- Towels and rags
- A screwdriver (flat head type)
- An Allen key
- Pliers
- An adjustable wrench
- Tape
How To Remove The Flow Restrictor From A Delta Kitchen Faucet?
Close the water supply
Make sure the valve is turned off before you try to remove any particles from your kitchen appliance. It is usually placed beneath your sink. You can even turn off the flow of water completely through a master valve if you cannot find one.
Protect and cover the sink
Many small pieces in your sink may have dislodged and got lost during the process, so make sure to stick a rag or a towel into the drain to hold anything that falls out.
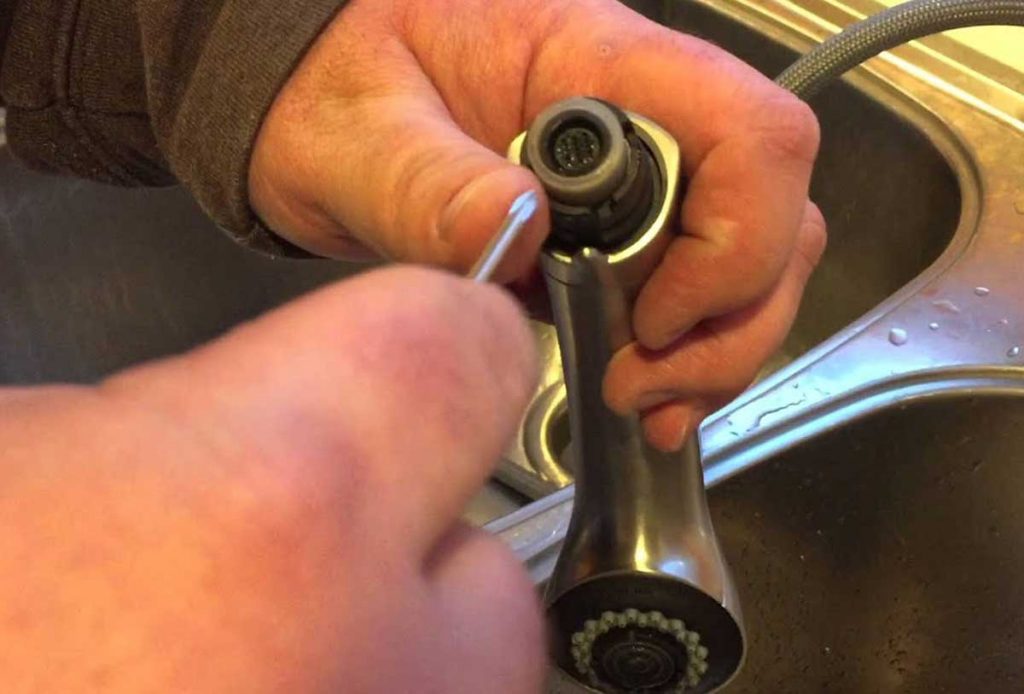
You will need a previously prepared Allen key to open the screw at the end of the faucet. Once it’s taken off, you may see a cap; use a screwdriver to remove it (must be flat head type).
Take off the aerator
The aerator is located at the ending part of the faucet’s spout. You will want to cover it with some tape before taking it off. It is because there is a high risk of the removal procedure damaging its finish.
First, put a towel on and secure it using some pliers to remove this part. Grip them tightly and turn them clockwise. Do not use excessive force, as you may accidentally break some part of your kitchen appliance.
From this step, any parts that have been taken off should be cleaned before you reassemble all of them at the last step.
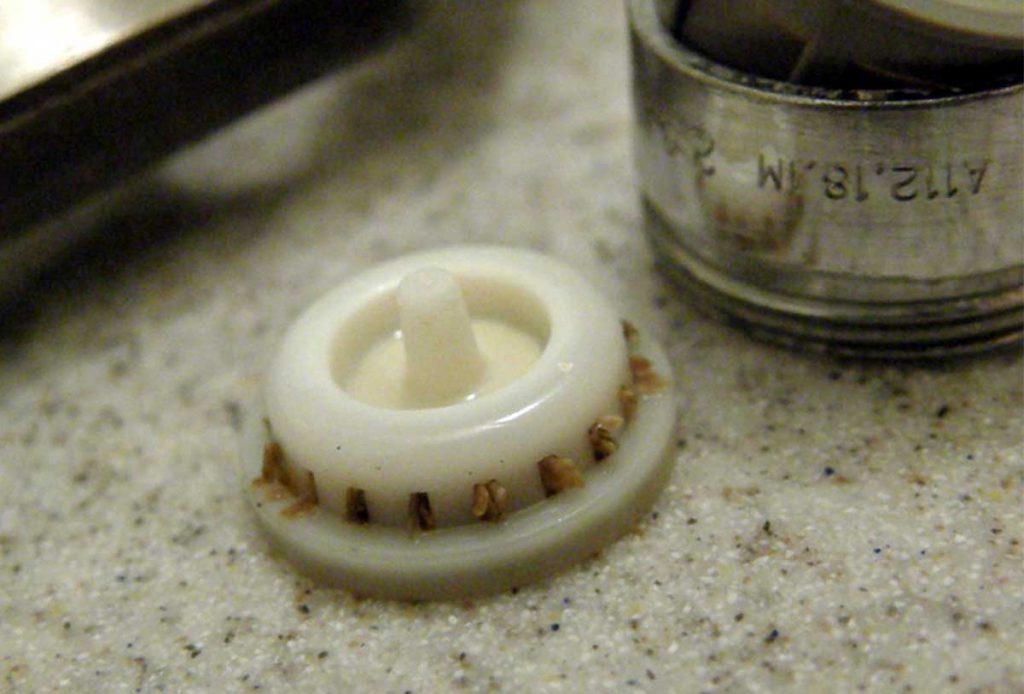
Take off the flow restrictor
The device is usually a piece of plastic having a holey centerpiece, and you can see it in the aerator.
You may be able to remove the device by using your thumb and popping it out from the aerator. It must be easier if you take a screwdriver to loosen it up from the connections before finally removing it from the faucet with the appropriate wrench.
Reconnect everything
If you still want to keep the device, screw it back into the aerator until it is fixed in place after properly cleaning and sanitizing it. Then replace its rubber washer, then re-attach the aerator into the original location.
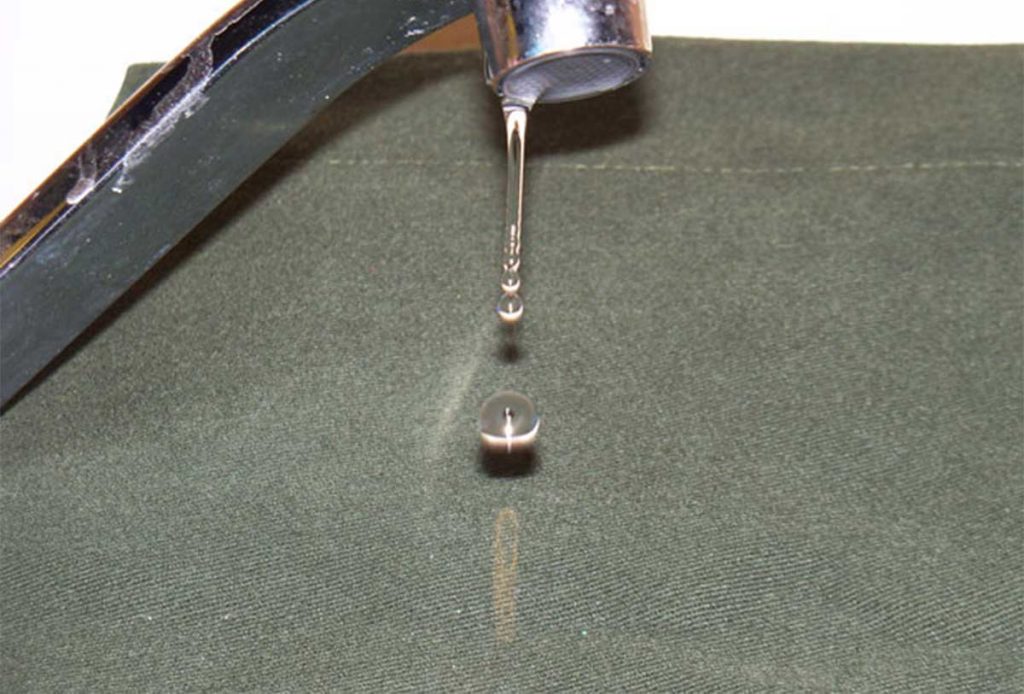
Now, turn on the valve and check if the water becomes stronger. If it still remains weak, the problem might not come from the device.
The Benefits Of A Water Restrictor
The number one benefit of water restrictors is that they stop wasting. They simplify saving water, energy (especially when you usually use hot water), and money (of course).
In addition, you will get a more consistent flow and a longer lifespan for your kitchen appliance.
See more: How To Remove A Delta Kitchen Faucet
FAQs Section
Is it illegal to take off the flow restrictor?
No law says it is illegal to remove the device. It is there as a safety feature to control the speed of the water, so if you decide to remove it, your utility bills may increase. That’s not a good scenario for you, though!
What other reasons lead to low water pressure?
Many reasons lead to low water pressure, not just because of the device we’ve talked about. It may happen when you have a blockage somewhere along the length of the pipe.
It is also because of debris buildup, resulting in the pipe being blocked by foreign objects such as dirt, food particles, oil, or sand.
What is the maximum flow rate for kitchen faucets?
All modern faucets have a maximum flow rate of 2.2 gallons per minute at 60 psi. The limit is further restricted to 2.0 gallons per minute in some US states. In California, they even reduce the rate to just 1.5 gallons per minute!
Where is the flow restrictor in a Delta kitchen faucet?
The device is typically located at the end of the faucet. If you can locate a small disc inside the ending part, then you have found your restrictor. If not, take off the aerator; it might be in the opening of the aerator.
Do all faucets have flow restrictors?
You will find the restrictors in all products sold since 1994. They are devices that allow the water pressure to be adjusted. You can also purchase different types of them, resulting in different speeds. Some let the water come out slower than others, and some let it go faster.
Is it difficult to remove?
It’s not difficult; it just requires a little patience. If you follow our detailed instructions, you can do it by yourself!
Conclusion
As you can see, removing this device is not a difficult task. All you need to do is pay attention and follow our guide for the best outcome.We hope that this article has helped you learn how to remove the flow restrictor from a delta kitchen faucet. If you have any problems or need assistance with the removal process, please feel free to drop us a comment below!